Perfect Steak for Date Night: A Guide
The steak guide that eliminates date night anxiety. Choose the right cut, nail the sear, and slice into it knowing exactly what you will find.

Cooking a steak for someone you want to impress is one of the highest-upside moves in the home cook’s playbook. It’s theatrical, it smells incredible the moment it hits the pan, and when you slice into it at the table and the doneness is exactly right, the room shifts in your favor. This guide exists to make sure that moment happens on purpose, not by luck.
There’s nothing complicated about a perfect steak. But there’s a sequence, and skipping any part of it shows up immediately on the plate.
Choosing your steak: the cut determines the confidence
For date night, three cuts are worth knowing: the ribeye, the strip steak, and the filet mignon. Each one tells a different story.
The ribeye is the easiest to love and the hardest to ruin. The heavy marbling (that network of intramuscular fat) bastes the steak from the inside as it cooks, making it forgiving under high heat. If this is your first time cooking steak for someone, start here. A 1.5-inch ribeye at medium-rare is the move that requires the least luck and delivers the most reward.
The New York strip is the steak with a little more chew: less fat than the ribeye, a firmer bite, and a more intense beefy flavor. It’s the confident, opinionated choice. People who know what they’re doing often prefer the strip.
The filet mignon is the tender one, which also means it’s the leanest. That lower fat content makes it less forgiving at high heat (it needs butter basting and attention), but the payoff is a cut so soft it barely needs a knife. It’s elegant, it’s impressive, and your date will feel genuinely looked after.
Whatever cut you choose: bright red color, visible marbling, a dry surface (not sitting in liquid), and a thickness of at least 1 inch. Preferably 1.5 inches. Thin steaks cook too fast, and the margin between medium-rare and overdone collapses in seconds.
Essential prep: three steps that change the outcome
Three steps. None of them are glamorous. All of them matter.
Pull the steak from the fridge 30 to 60 minutes before cooking. A cold steak hitting a hot pan means the outside cooks before the center has a chance to catch up, giving you an overcooked exterior before the interior is ready. Room temperature steak cooks evenly, which is the whole point.
Pat it completely dry. Every paper towel’s worth of surface moisture is moisture that converts to steam in the pan instead of contributing to crust. Steam is the enemy of the Maillard reaction. Dry steak sears. Wet steak steams. These are not the same outcome.
Season generously: more than you think. About half a teaspoon of kosher salt per side for a one-pound steak, plus coarse black pepper. If you have 40 minutes, season ahead of time: dry-brining draws out surface moisture that gets reabsorbed, seasoning the meat from within. If you don’t, season right before the pan and go.

The pan-sear method: most reliable for date night
The reason cast iron exists is exactly this: even heat retention that doesn’t flinch when a cold steak hits it. Stainless steel works too. Non-stick does not belong in this conversation.
Preheat the pan over high heat for a full five minutes. Add 1 to 2 tablespoons of a high smoke point oil (refined avocado oil or peanut oil are the right picks here; our cooking oils guide covers all your high-heat options) and swirl to coat. Lay the steak away from you to avoid splatter, then leave it alone. Three to four minutes on the first side, untouched. A crust is forming. It will release naturally when it’s ready. If you try to lift it and it resists, the crust is not finished yet. Wait.
Flip once. Sear the second side three to four minutes. In the last two minutes, add two tablespoons of butter, two smashed garlic cloves, and a sprig of thyme. Tilt the pan and baste the steak repeatedly with the foaming butter. This is the moment your kitchen smells like a restaurant, and it is entirely intentional. Let your date watch from a safe distance. The sizzle, the steam, the herb-scented butter: it’s a performance worth watching, and the confidence you project while doing it reads clearly across the room.
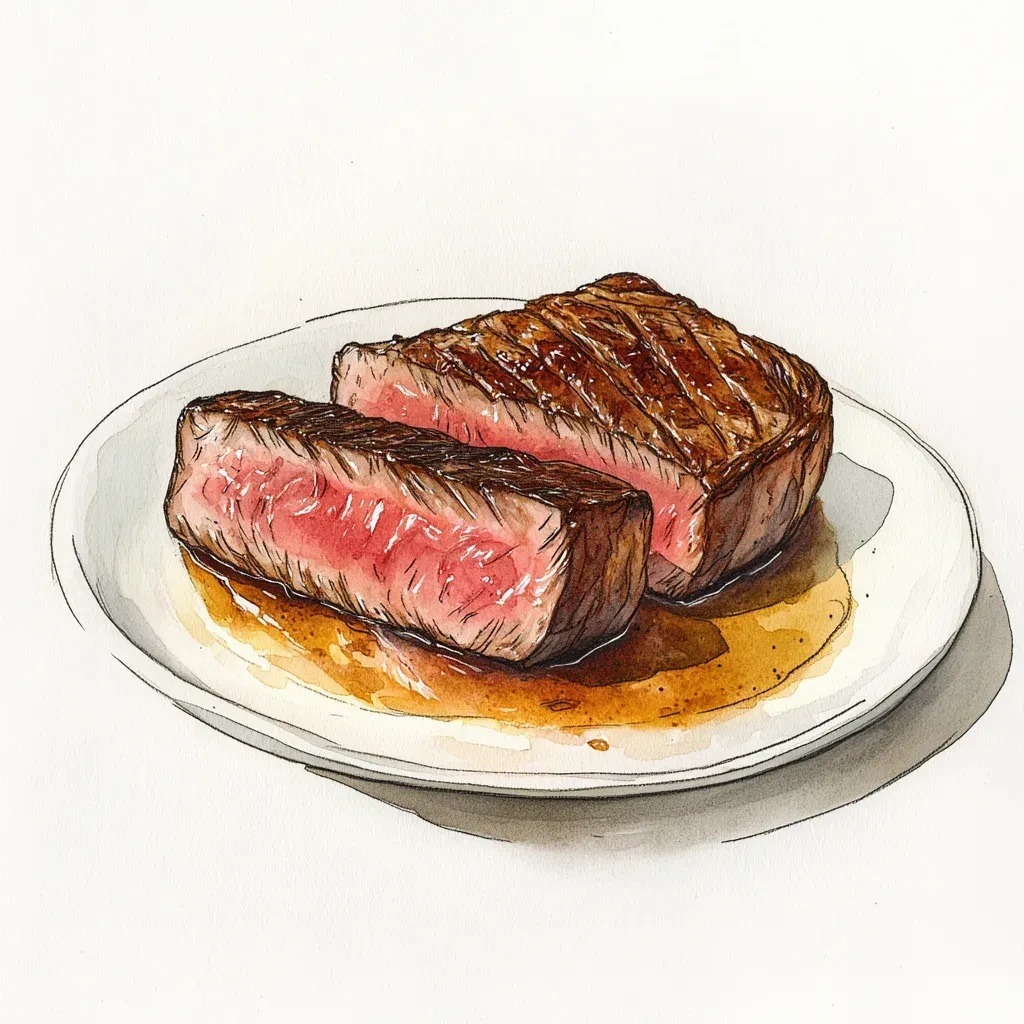
Pull the steak when the thermometer reads 5 degrees below your target temperature, rest it on a cutting board for 5 to 10 minutes loosely tented with foil, and serve. The internal temperature will climb another 5 degrees during rest. For most cuts and most people, pull at 130°F and you’ll land at medium-rare, the sweet spot where marbling does its best work.
The reverse sear: more control for thick steaks
If your steak is 1.5 inches or thicker, the reverse sear gives you edge-to-edge even doneness that direct searing rarely achieves on thick cuts. J. Kenji López-Alt, who popularized the method, found it produces the most consistent results for thick steaks, and after trying both methods side by side, it’s hard to argue with the outcome.
Preheat the oven to 275°F. Season the steak and place it on a wire rack over a baking sheet. Roast until the internal temperature reads 10 to 15 degrees below your target (about 20 to 40 minutes depending on thickness). Remove it, rest for 10 minutes, then sear in a screaming hot pan for 60 seconds per side.
The surface of a steak that’s been slowly oven-dried is almost perfectly dry before it ever touches the pan. The crust comes out exceptional and the interior is already at the right temperature throughout. The tradeoff is time and an extra pan. On a date night where you want to minimize last-minute drama, this method is worth knowing.
Temperature guide: the only thing that matters
Stop guessing. Get a thermometer. It costs about 15 dollars and eliminates the single biggest source of steak anxiety.
Rare (120 to 125°F): cool red center, maximum tenderness, maximum juiciness. Not for everyone, but worth trying once with a good cut to understand what the ingredient actually is.
Medium-rare (130 to 135°F): warm red center, tender, genuinely juicy. The sweet spot for most cuts and most people. This is where a premium ribeye or strip delivers exactly what you paid for. For a deeper look at the science behind doneness and what happens to beef above medium, our steak doneness guide lays it all out.
Medium (135 to 145°F): warm pink center, slightly firmer, still juicy. An excellent choice for leaner cuts like filet mignon, or for anyone making the transition away from well-done.
Pull the steak 5 degrees below your target, every time. It continues cooking while it rests. This is not a suggestion.
Date night strategy: the details that tip the evening
Season the steaks 30 minutes before your date arrives. Start cooking when they walk in. Rest while you plate the sides. Serve about 45 minutes into the evening, after the first drink has been shared and the conversation has found its footing.
For finishing: a pinch of flaky sea salt on the sliced steak, a lemon wedge on the side, or a slice of compound butter melting on top. Any one of these costs almost nothing and shifts the plate from home-cooked to deliberate. A pan sauce takes two minutes and uses the same pan: pour off the excess fat, deglaze with a splash of wine or stock, reduce by half, swirl in a tablespoon of cold butter. Your date doesn’t need to know how easy it was.
Cooking steak is theater. The sizzle when it hits the pan, the butter basting, the way the kitchen fills with aromatic herbs: all of that is visible and enjoyable. The confidence you carry while working the pan reads across the room before the first bite.
For a full beef-forward dinner, the Northern Thai Beef Tartare works beautifully as a first course, adding contrast and showing range. And if you want to remove the guesswork from doneness entirely, our sous vide date night guide is the other path.
Practice it once before the night. Not because you’ll fail without rehearsal, but because confidence looks different when you’ve done something before. One run-through, and the whole evening gets easier.
Related Recipes

Victor Vu
Victor is a Montreal home cook with a decade of experience developing date night recipes. Every dish is tested at least three times before publishing.
About the author →Frequently Asked Questions
How do I know when the pan is hot enough to sear a steak?
Hold your hand 6 inches above the pan. If you pull it back in under 2 seconds, you are ready. Or flick a drop of water into the pan: if it evaporates before you blink, get cooking. Plan for a full 5 minutes of preheating over high heat, regardless of what the pan feels like at the 3-minute mark.
Should I oil the steak or the pan?
Oil the pan. A thin coat of high smoke point oil swirled into a hot pan gives you more control and a cleaner sear than coating the steak directly. Oiling the steak can lead to pooling, uneven browning, and more smoke than you planned for. Coat the pan, not the steak, and add the oil right before the steak goes in.
Why does my steak always stick to the pan?
The pan is not hot enough, or you are checking too soon. A proper sear forms a crust that releases naturally from the surface. If you try to lift the steak and it resists, the crust is not done yet. Wait 30 more seconds and try again. Patience is the whole trick: when the crust is ready, the steak tells you.
Can I cook a steak from frozen?
Yes, with the reverse sear method. Season the frozen steak and put it straight into a 275°F oven. Add about 50 percent more time to the low-and-slow oven portion. The final sear is the same as usual. It is not the ideal approach, but it works cleanly and beats thawing improperly under running water.
What if I don't have an instant-read thermometer?
Get one. An instant-read thermometer costs about 15 dollars and eliminates the biggest source of steak anxiety permanently. The touch test works in a pinch, but it takes practice to read accurately and consistently. A thermometer just tells you. It is the single best confidence-building kitchen investment for anyone who cooks protein regularly.