3-Day Miso Duck Breast (Crisp Skin)
Miso-cured duck breast with shatter-crisp skin and a Japanese-French glaze. Three days of patience, one unforgettable bite. The ultimate date night flex.

Prep
20 min
Cook
2h 30 min
Passive
3 days
Total
3 days 2h 50 min
Difficulty
Medium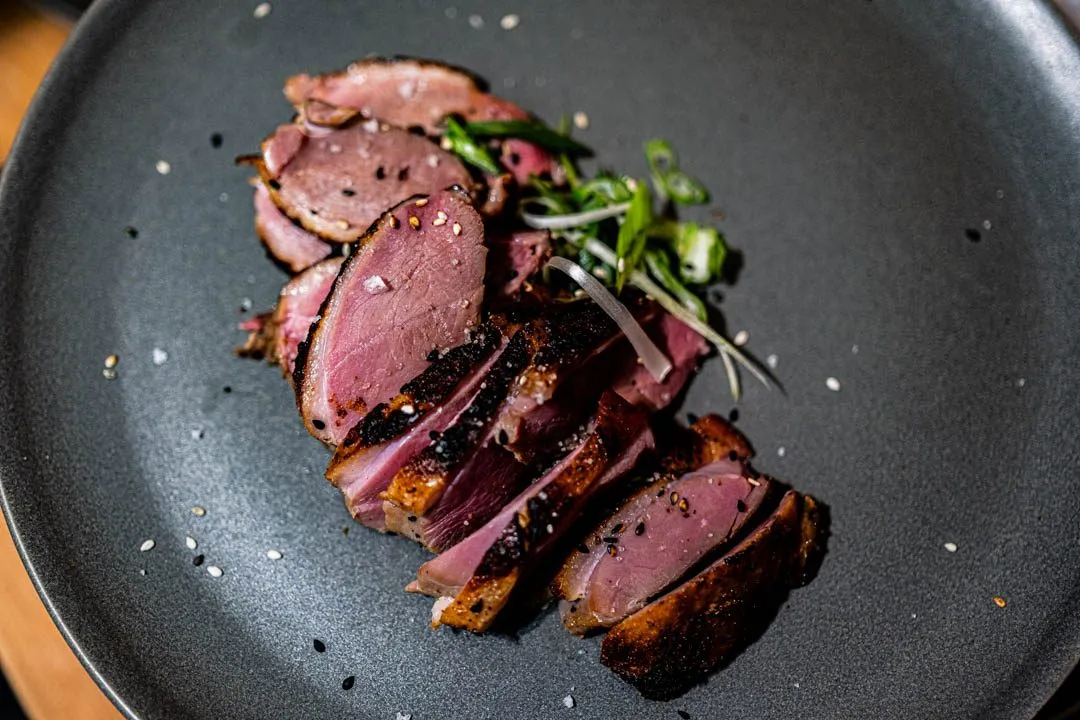
This is the duck breast you make when you want the night to feel intentional. Not fussy. Not chaotic. Just a slow-build kind of impressive that makes the whole apartment feel like a plan. The secret here is patience: a 3-day miso cure that quietly seasons the meat, dries the surface, and sets you up for the kind of shatter-crisp skin people assume you only get at restaurants. You rinse the cure off, render the fat, sous vide for perfect doneness, then hit it with a high-heat sear and a torch for blistery edges. Bold, clean, and deeply savory.
What miso actually does to duck
White miso, the mild, sweet-ish variety sometimes called shiro miso, does two things to duck breast that salt alone never could. First, the enzymes break down surface proteins over the 72-hour cure, tenderizing the outer layer and creating a drier skin that renders faster and crisps harder. Second, and this is the reason I keep coming back to this method, the fermented soybean paste deposits glutamate deep into the flesh. The duck tastes more intensely like duck, with a round, nutty, savory quality that lingers. Big umami without a heavy sauce.
Koji-based cures have a long history in Japanese cooking. Chef David Chang popularized the technique in Western kitchens with his bonji aging method at Momofuku, and the principle here is the same: give enzymes time and they do the seasoning work for you. Mirin adds sweetness and gloss, and a touch of honey helps the skin brown during searing without burning. Red miso can work if that is what you have, but it is louder and saltier. Shiro keeps it gentle. You mix a paste, spread it thin, and walk away for three days. The fridge handles the rest.
When shopping, look for plump duck breasts with an even fat cap. The fat layer is what renders into that golden, crackly skin, so you want consistent thickness across the surface. A thin or patchy fat cap will crisp unevenly and leave you fighting the pan later.
The render: where crispy skin begins
Most people think crispy duck skin comes from high heat. It does not. It comes from patience at medium heat in a cold pan. Starting the duck skin-side down in a cold cast iron and letting the fat slowly melt out over six to eight minutes is the step that separates good skin from great skin. Do not rush the render. Rush it, and you end up with a seared exterior trapping pockets of soft fat underneath. Take your time, and you get a thin, golden layer that is already halfway to shatter-crisp before the final sear even happens.
Dryness is the whole game. After rinsing the cure, after sous vide, and before the final sear: keep patting until the surface is truly dry. Any moisture left on the skin will steam instead of crisp, and you will hear the difference. If you love this style of patient, rendered fat cooking, pork osso buco takes the same slow-and-low approach with shanks.
Save the rendered duck fat. Seriously. It is liquid gold for roasting potatoes, frying eggs, or starting the sear on your next project. A mason jar in the fridge keeps it good for months.
Sous vide takes the stress out
Duck breast does not forgive you. Overcooked by even a few degrees and it goes from rosy and tender to dry and livery. Sous vide at 58 C for two hours removes all the guesswork, and the date-night-friendly timing means the longest part happens while you are doing literally anything else. The meat holds at a perfect medium-rare from edge to edge, and because it is already cooked through, the final sear is purely about texture and color.
The ice bath after sous vide is not optional. Fifteen minutes in ice water stops the cooking and firms the meat so it holds up during the aggressive sear without overcooking the interior. Pat it completely dry afterward. If you want insurance, put the breasts uncovered in the fridge for thirty minutes to dry the surface even further. I have done this step and skipped it, and the difference in skin crackle is obvious enough that I stopped skipping it.
If you do not own a sous vide, you can finish in a 135 C (275 F) oven after the initial render. Pull the duck when a thermometer reads 55 to 58 C and rest before the final sear. A thermometer is essential here. It works, but you lose the safety net of precise temperature control, so watch it closely. If this recipe is your push to finally buy a circulator, our Anova vs Joule comparison covers both options for home cooks.
The final sear and torch
This is where the whole three-day build pays off. The cast iron should be smoking before the duck goes anywhere near it. A small spoon of rendered duck fat in the pan, then skin-side down, pressing flat with a spatula. Ninety seconds to two minutes. Flip for the flesh side, thirty to forty-five seconds. Hit the edges briefly. Use a rack, not a plate. A plate traps steam and softens the skin.
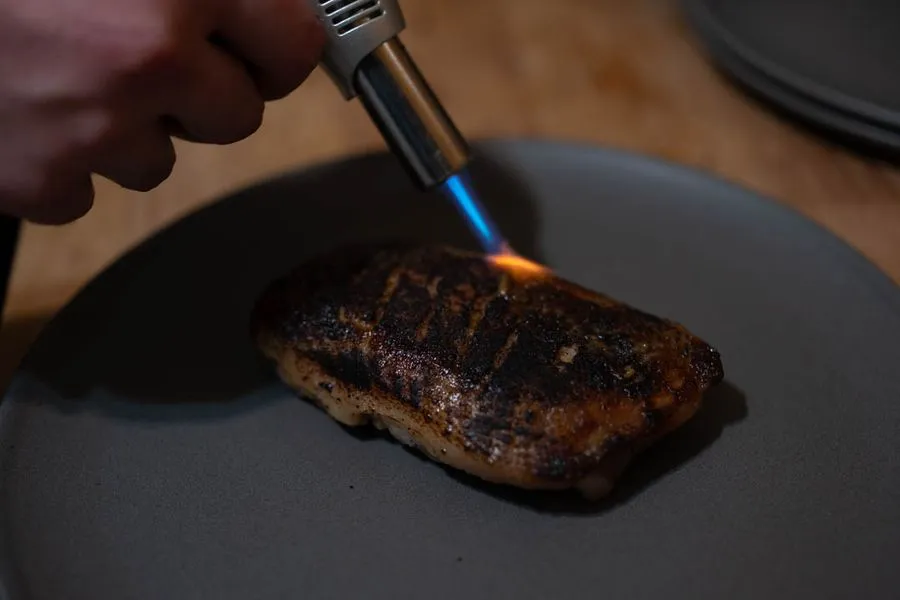
Then the torch. Sweep it across all surfaces for sixty to ninety seconds until you see blisters forming. The direct flame catches spots the pan missed and pushes the skin from golden to deeply caramelized. If you do not have a torch, a few minutes on a very hot grill works, mostly indirect, with just enough direct heat for char marks and a whisper of smoke. Sear fast. The sous vide already nailed doneness. This last step is for texture and color only.
Rest, slice, and making it a date
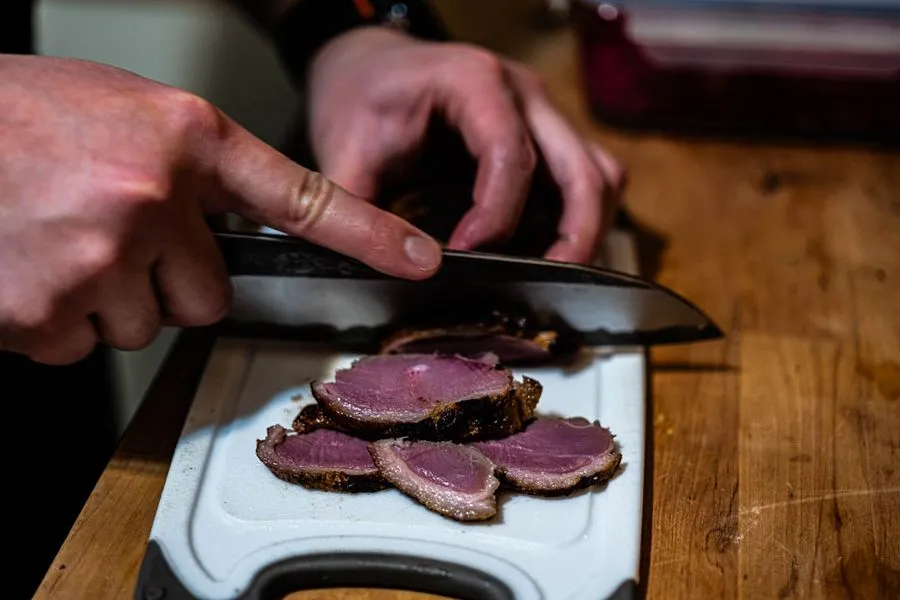
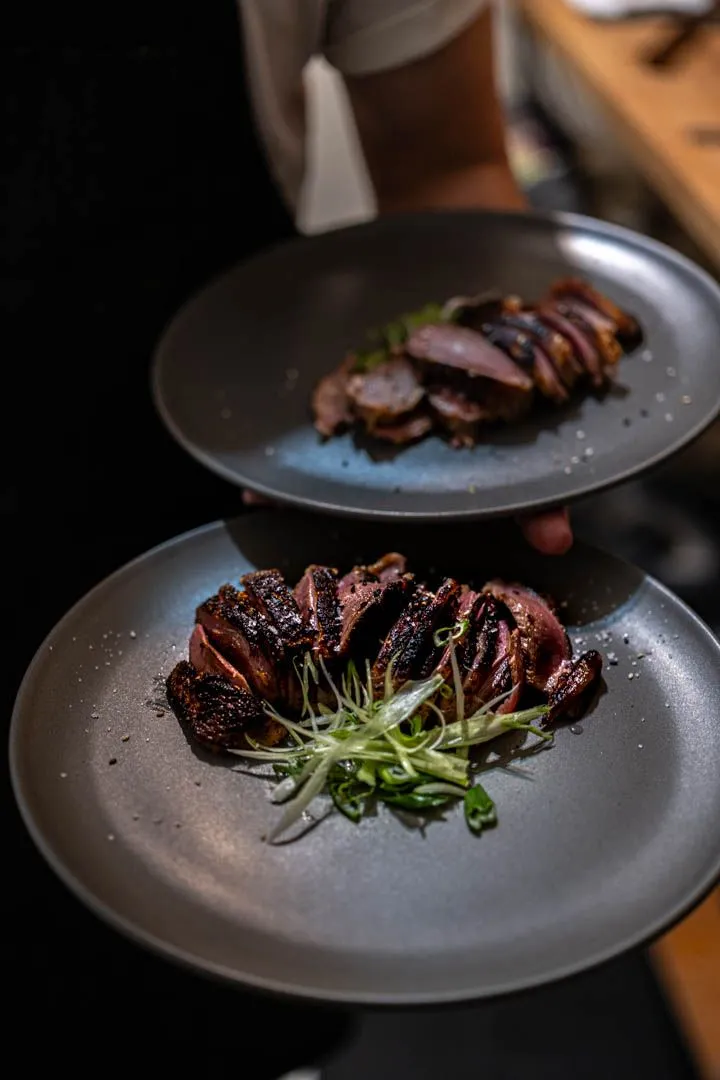
Five minutes. That is all the rest this needs. Tent it lightly so the skin does not soften, then slice thin on a bias. Fan the slices across a warm plate so the crispy skin catches the light and the pink interior is visible on every piece.
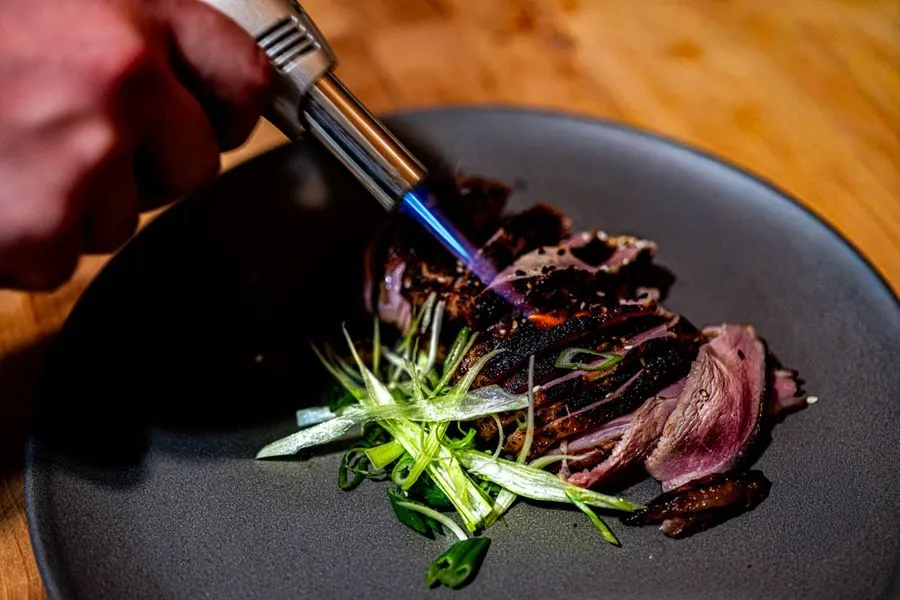
Julienned green onions and a few flakes of Maldon salt at the very end. That is it. No sauce needed. The miso cure already did the seasoning. Flaky salt is your last-second “chef move.” A few flakes right at the end changes everything. Restraint is the move. Let the duck be the entire conversation.
This recipe is a slow-burn timeline, which means you get a lot of “hang out” windows. During the cure, send a quick “I am making something ridiculous this weekend” text and let it simmer. Pick a playlist together. Keep it low and warm. During the two-hour sous vide, pour wine or a cocktail, put out low-effort snacks like olives or something pickled, and set the table early, even if it is casual. It changes the energy. During the five-minute rest, plate slowly, put the green onions and flaky salt on at the last second. Make out. You have time.
Pair the duck with steamed rice, crispy roasted potatoes, or buttery noodles. On the side, you want crunch and acid: quick Vietnamese pickled vegetables, shaved daikon with rice vinegar, or a bright citrus salad. Kimchi, mustard greens, or chili crisp all work too. The duck is rich and savory, so the sides should stay clean and bright.
For a full date night menu, start with lamb meatballs with gochujang glaze as a bold, sticky appetizer, and close the evening with lemon posset brulee for something light and citrusy after a rich main. If you are into the miso udon carbonara, that same fermented depth lives here too, just on a completely different canvas. Browse more dinner recipes for other ways to build the evening.
3-Day Miso Duck Breast (Crisp Skin)
Instructions
Cure (3 Days Ahead)
Mix miso, salt, mirin, and honey into a thick, spreadable paste.
Pat duck breasts very dry. Score the skin in a crosshatch pattern without cutting into the meat.
Coat each breast evenly in a 1-2 mm layer of the miso paste. Place on a wire rack over a tray. Refrigerate uncovered for 72 hours in the coldest spot of your fridge.
Cook Day
Rinse or scrape off the miso under cold water. Pat extremely dry.
Place duck skin-side down in a cold cast iron pan. Turn heat to medium. Render 6-8 minutes until the skin is golden and fat has pooled. Transfer to a rack. Pour off and save the rendered duck fat.
Vacuum bag the duck skin-up (no added fat needed). Cook at 58 C / 136 F for 2 hours. Ice bath 15 minutes. Pat bone-dry. Optional: fridge uncovered 30 minutes to dry the surface.
Heat cast iron until smoking hot. Add a small spoon of rendered duck fat. Sear skin-side down 90 seconds to 2 minutes, pressing flat. Flesh side 30-45 seconds. Edges 20-30 seconds each. Transfer to a rack.
Torch all surfaces 60-90 seconds until blistered. Alternatively, use a hot grill for 2-3 minutes for char and smoke.
Rest and Serve
Rest 5 minutes, lightly tented. Slice thin on a bias and fan out.
Top with julienned green onions and a few flakes of Maldon salt.
Date Night Tips
Wine Pairing
A Burgundy Pinot Noir with earthy undertones matches the miso umami beautifully. For something unexpected, a dry off-dry Riesling from Alsace cuts through the richness and plays off the subtle sweetness of the cure.
Music
Low and warm. A vinyl jazz playlist or something like Khruangbin: unhurried, textured, perfect for a slow evening that builds.
Plating
Fan the slices on a warm plate with the crispy skin catching the light. Add green onions and flaky salt at the very last second. Leave some negative space on the plate. Restraint is the move.
Enjoy your meal!
The Official Recipe
3-Day Miso Duck Breast (Crisp Skin)
Nutrition(Per serving)
420 kcal
Calories
28g
Fat
4g
Carbs
38g
Protein
Ingredients
Miso Cure
To Finish
Instructions
Cure (3 Days Ahead)
Mix miso, salt, mirin, and honey into a thick, spreadable paste.
Pat duck breasts very dry. Score the skin in a crosshatch pattern without cutting into the meat.
Coat each breast evenly in a 1-2 mm layer of the miso paste. Place on a wire rack over a tray. Refrigerate uncovered for 72 hours in the coldest spot of your fridge.
Cook Day
Rinse or scrape off the miso under cold water. Pat extremely dry.
Place duck skin-side down in a cold cast iron pan. Turn heat to medium. Render 6-8 minutes until the skin is golden and fat has pooled. Transfer to a rack. Pour off and save the rendered duck fat.
Vacuum bag the duck skin-up (no added fat needed). Cook at 58 C / 136 F for 2 hours. Ice bath 15 minutes. Pat bone-dry. Optional: fridge uncovered 30 minutes to dry the surface.
Heat cast iron until smoking hot. Add a small spoon of rendered duck fat. Sear skin-side down 90 seconds to 2 minutes, pressing flat. Flesh side 30-45 seconds. Edges 20-30 seconds each. Transfer to a rack.
Torch all surfaces 60-90 seconds until blistered. Alternatively, use a hot grill for 2-3 minutes for char and smoke.
Rest and Serve
Rest 5 minutes, lightly tented. Slice thin on a bias and fan out.
Top with julienned green onions and a few flakes of Maldon salt.
Victor Vu
Victor is a Montreal home cook with a decade of experience developing date night recipes. Every dish is tested at least three times before publishing.
About the author →Frequently Asked Questions
Is the full 72-hour cure really necessary?
You can get away with 24 to 48 hours, but 72 gives you noticeably deeper seasoning and a drier surface that crisps better during the final sear. The miso needs time to draw moisture out of the skin and push flavor into the meat. If you are planning a date night, start three days out and let the fridge do the work.
Can I make this without a sous vide?
Yes. After rendering the skin, finish the duck in a 135 C (275 F) oven until the internal temperature hits 55-58 C, then rest and do the final high-heat sear. A thermometer is essential here. Sous vide just removes the guesswork and guarantees juicy, evenly cooked meat with a very short, aggressive sear at the end.
Why do you rinse the miso cure off before cooking?
Leftover miso paste will scorch during the high-heat sear and turn bitter. The cure has already done its job by seasoning the meat and drying the surface over three days. Rinsing it off and patting dry gives you a clean canvas for rendering and crisping without any burnt residue.
My skin did not come out crispy. What went wrong?
Almost always one of two things: the surface was not dry enough, or the pan was not hot enough for the final sear. After every stage, pat the skin aggressively dry with paper towels. For the re-sear, the cast iron should be smoking before the duck goes in. A kitchen torch at the end is insurance for guaranteed crackle.
You might also like
Continue your culinary journey
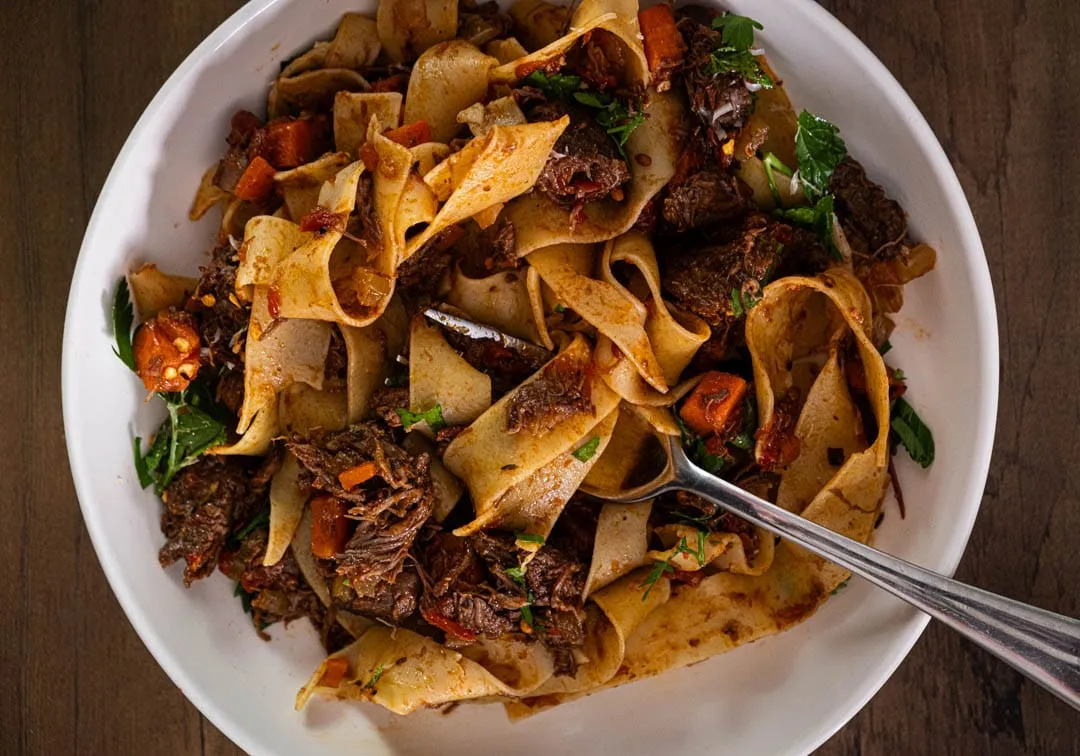
Slow-Cooked Beef Ragu with Pappardelle Pasta
The slow-cooked ragu that says 'I've been thinking about you all day.' Chuck roast, red wine, and pappardelle worth every minute.
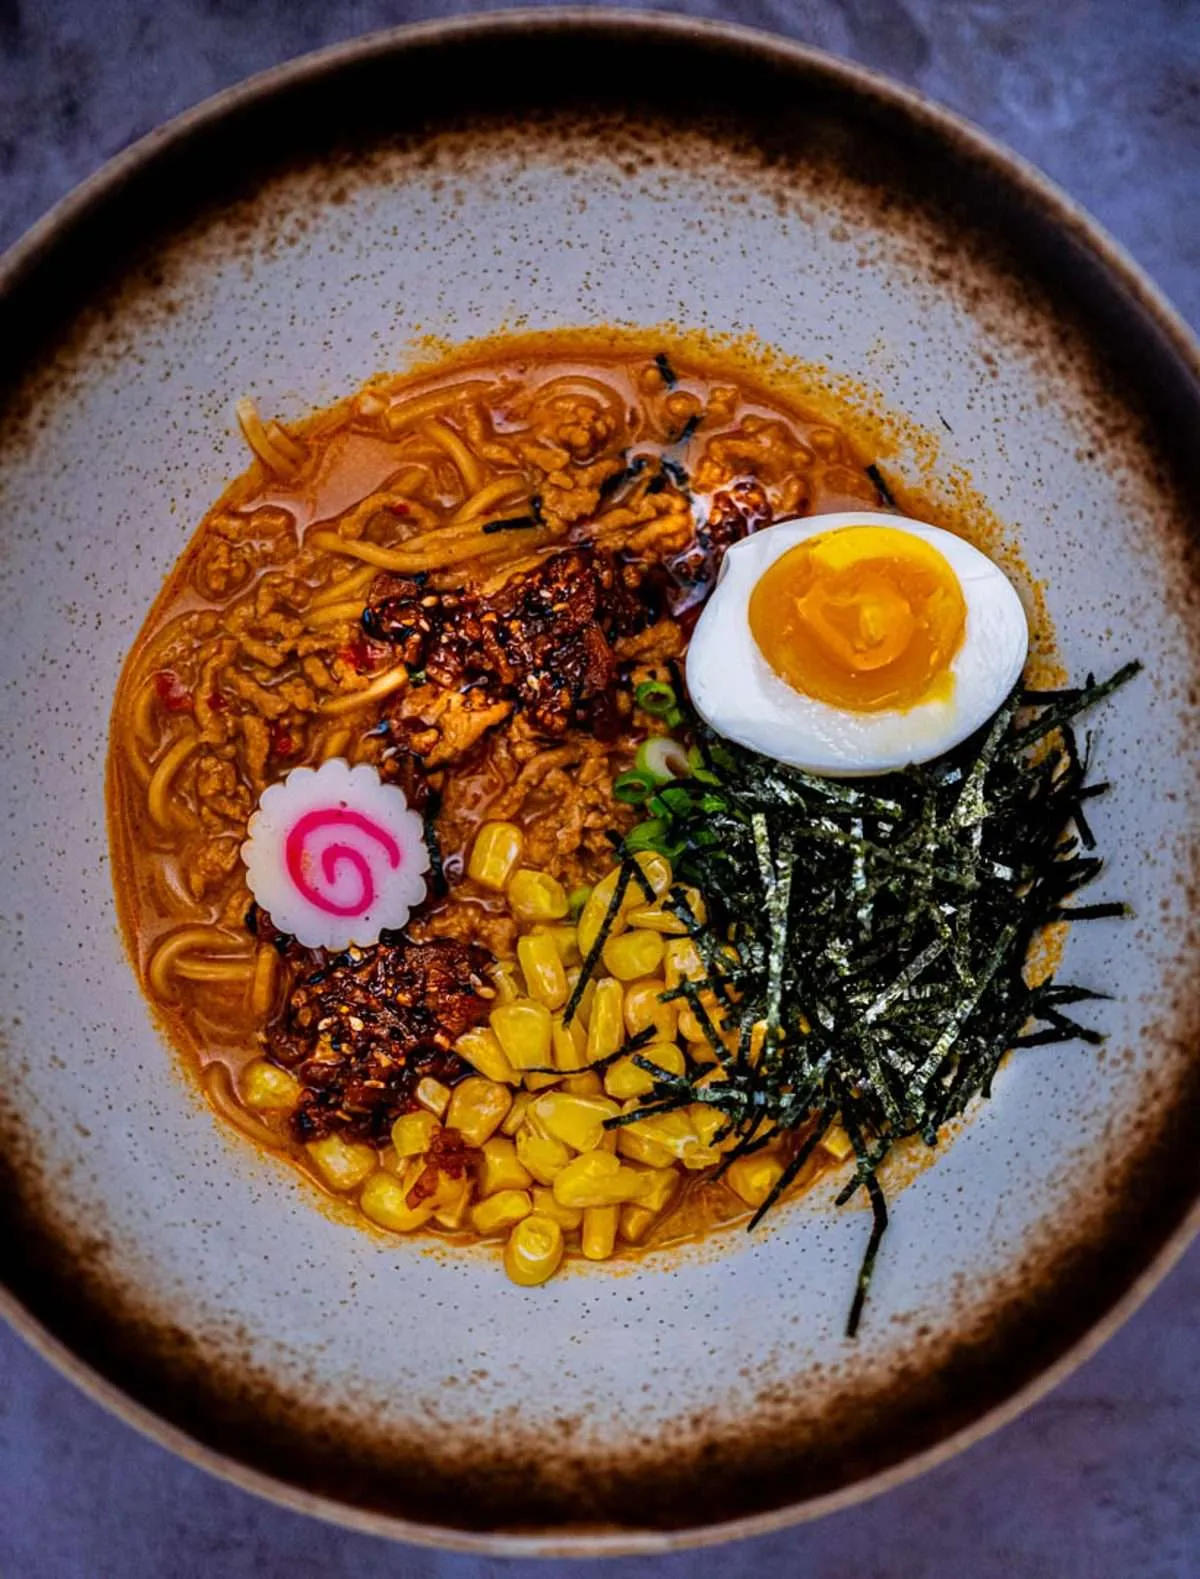
Bold Spicy Miso Ramen (Restaurant-Style)
Spicy, creamy miso ramen with ground pork and a garlic-togarashi oil that makes every spoonful dangerous. Restaurant-quality at home in 75 minutes.
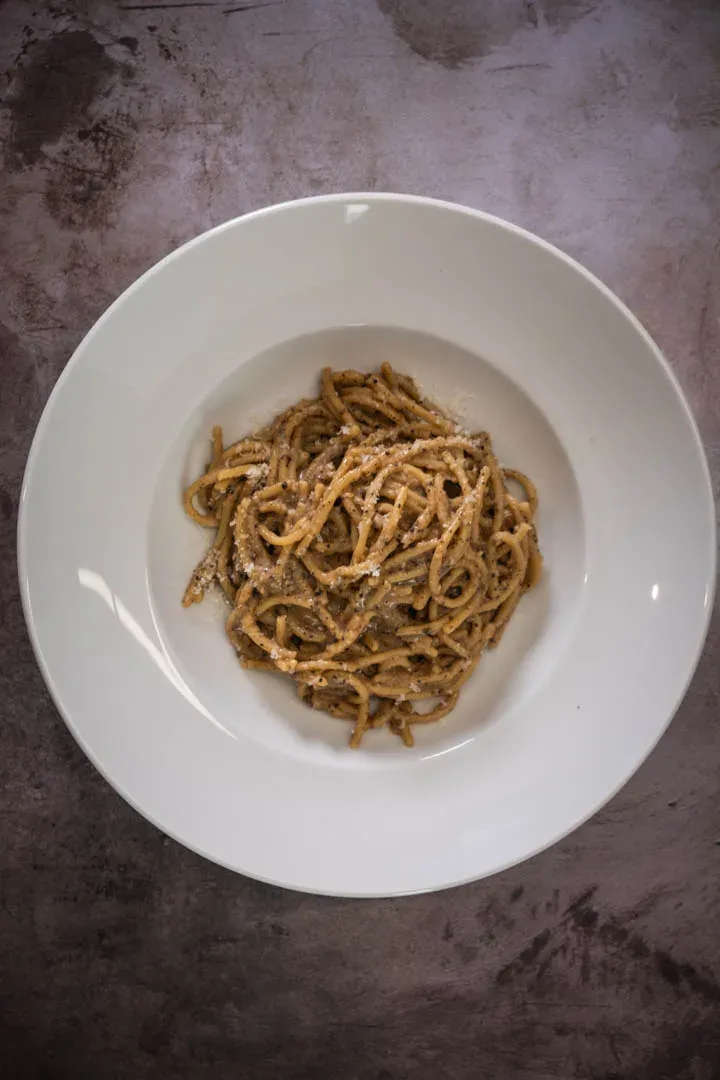
Authentic Cacio e Pepe Recipe
Five ingredients. Zero cream. The Roman pasta that makes your date put their phone down mid-bite. Cheese, pepper, and pure confidence.